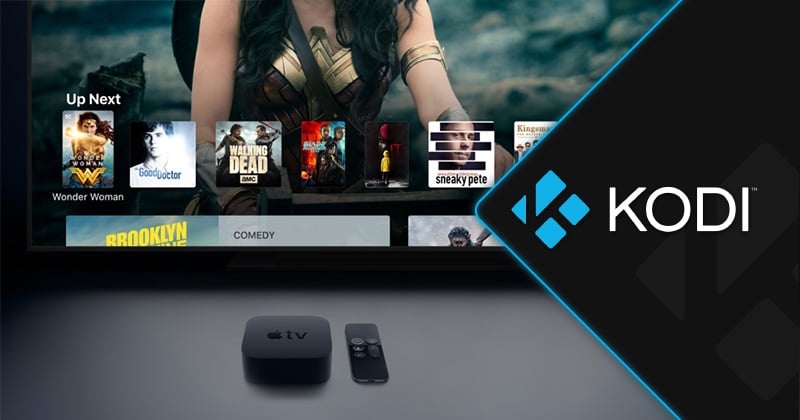
How to install Kodi on Apple TV – step-by-step guide
Kodi is, without a doubt, the most popular home theatre software. It’s present on an incredibly wide range of platforms and comes with a simple installation method. However, Apple’s tvOS App Store won’t get you access to this application, and here’s why.
Is It Possible to Install Kodi on Apple TV?
In case you didn’t know, Apple is quite restrictive when it comes to apps that show up in the company’s numerous app stores. They need to meet a strict set of guidelines that minimizes performance issues and malware-related problems. So, what’s the problem with Kodi?
Well, Kodi is a hugely capable application. It integrates deeply with compatible platforms, which is a problem for Apple. With this said, there’s no way for Kodi’s developers to strip away numerous features and keep supporting Kodi in that state.
Still, there’s nothing to worry about. You can still run Kodi on TV without any problems – you just have to find a workaround. So, let’s talk about how to install Kodi on Apple TV.
How to Install Kodi on Apple TV 4
There’s a couple of ways to get your Kodi running on Apple TV 4. You can either use Cydia Impactor or Apple’s Xcode for this purpose.
Please note that both of these methods require you to have a developer account. A free one will let you use Kodi up to seven days before having to reinstall the software, while a paid account enables you to use Kodi up to one year.
To create your account, go to Apple’s Developer website.
How to Install Kodi on Apple TV via Cydia Impactor
The easiest method of getting Kodi to run on your Apple TV is via Cydia Impactor. This is a straightforward application that doesn’t require any advanced knowledge. In other words, we’re more than sure that you’ll go through the following procedure without any problems.
- First, make sure to download Cydia Impactor and install it on your computer. This application comes free of charge, and it’s perfectly safe for use.
- You will also need an installation file of Kodi, which comes in the IPA file format. This file isn’t offered on Kodi’s official website. Instead, you can download it from KodiIPA.com – where you’ll find the latest available version.
- Now, connect your Apple TV to your computer by using a USB cable.
- Launch Cydia Impactor.
- Drag and drop the newly downloaded Kodi IPA file onto Cydia.
- Next, you need to select your Apple TV from the drop-down menu.
- You’ll be asked to sign in using your Apple ID, so make sure to do that.
- Finally, Cydia will begin installing Kodi, and it might take several minutes until the process is complete.
- That’s it! You can now disconnect Apple TV from your computer. Set it up once again, power it on, and Kodi will be waiting among the installed apps.
How to Install Kodi via Apple’s Xcod
Next, we are going to show you another method that includes Apple’s software development tool called Xcode. You will act as a developer who has an application that needs to be tested. Let’s check out how this is done.
- First, you need to download Xcode to your Mac and install it. Very soon, you’ll also need Kodi’s DEB file from its official website (select “iOS” on that page, and download the DEB file). And lastly, download an application named iOS App Signer.
- For now, we’ll use Xcode. So, launch the application.
- First, you need to create a new project. On the left side of the “Welcome” pane, select ‘tvOS > Application.’
- On the right side, select ‘Single View Application.’
- Click ‘Next,’ and you’ll be asked to enter some information. You can type in anything in the ‘Product Name’ and ‘Organization Name’ fields. Then type in ‘com.codingexplorer’ for the ‘Organization Identifier’ and ‘com.arcade.kodiappletv’ for the ‘Bundle Identifier’.
- Before we can proceed, you need to select ‘Swift’ and the preferred programming language. Then select ‘Universal’ when asked about the device you want to use.
- After Xcode fully loads, you might see a message saying that there’s an error. You can click on a button that says: ‘Fix Issue.’
- You’ll be asked to enter your Apple ID, so make sure to do so. Once Xcode resolves the errors, you’ll return to the main screen.
- Now, launch the iOS App Signer on your Mac. Place your Kodi DEB file into the ‘Input File’ field, and you can use default values for other fields. At the bottom, type in ‘Kodi’ in the ‘App Display Name’ field. Click on ‘Start.’
- Once the iOS App Signer gets the job done, return to Xcode.
- Make sure that your Apple TV is connected to your Mac, and select it from the left-positioned sidebar. Click on your Apple TV, and then click on the ‘+’ button on the right side of the screen.
- Supply your recently extracted Kodi file, and Xcode will send it to your Apple TV.
- That’s it! Turn on your Apple TV, and Kodi will be waiting for you.
As you can see, this method requires a certain level of knowledge and comes with many steps. So, we strongly recommend you try Cydia Impactor first. However, it’s always good to have an alternative.
How to Install Kodi on Apple TV 3
Unfortunately, we have bad news for those using Apple TV 3. This device is much more restrictive than other Apple TV generations, and it doesn’t allow you to install ‘unauthorized’ apps. This means that you can’t install Kodi on Apple TV 3, at least not directly.
Still, we are going to offer a viable solution. In case you have a Mac, you’re in luck because you can install Kodi on your Mac, and then mirror your computer’s screen to your Apple TV 3. This can be done via AirPlay (which comes built-in) – but there are easier solutions for screen-mirroring.
AirParrot is perhaps the most capable screen mirroring application that can mirror a single app. In other words, you can mirror Kodi to your Apple TV 3 while using other application on your Mac. You can try AirParrot free of charge, and then you’ll need to pay $12.99 to unlock the application entirely.
Be Wise & Protect All Your Kodi-Related Activities
Finally, we want to give you one more piece of advice. We strongly recommend you to not use Kodi without a capable VPN. That’s because various Kodi add-ons rely on problematic pirated file sources, which is something that can quickly get you into trouble.
A VPN that’s optimized for Kodi will make sure you’re protected online. No one (including your ISP) will see what you do online, or what kinds of media files you stream. And most importantly, Kodi won’t suffer from buffering or performance-related issues.
