How to set up NordVPN for Apple TV in 2026

There are four ways to use NordVPN on Apple TV: installing the NordVPN app, using the SmartDNS feature, setting up NordVPN on your router, or sharing a VPN connection via a mobile hotspot or wireless connection. The easiest way to get a VPN on your Apple TV is to download the dedicated NordVPN app to be used directly on your tvOS device.
However, if you’d prefer a different way of getting NordVPN to work on your Apple TV without the app installation, you can always hotspot a VPN from your laptop to your Apple TV. Additionally, if you’d like broader protection of all your devices, you can install NordVPN onto your router, thus protecting every single piece of hardware connected to it. Lastly, for those who travel a lot, the most convenient option to get NordVPN on an Apple TV would be to use the SmartDNS feature.
In this article, you’ll find my tips on how to get NordVPN on Apple TV, plus clear step-by-step instructions on the installation process, depending on which path you choose. Last but not least, you’ll also find a quick troubleshooting guide on what to do if NordVPN is not working on Apple TV.
Method 1. Install NordVPN app on Apple TV
Installing the dedicated NordVPN app is the easiest and fastest way to get it to work on an Apple TV. You can find the app on the Apple App Store, download it from there, and simply install it on your TV. However, the dedicated NordVPN app is only compatible with tvOS 17 or later, so if you have an older Apple TV model, the app is not a viable option. If that’s the case, look into the router installation or streaming with the SmartDNS feature.
Here’s my step-by-step guide on how to download and install the NordVPN Apple TV app:
-
Download the NordVPN app from the Apple App Store. You can get it now 75% off.

-
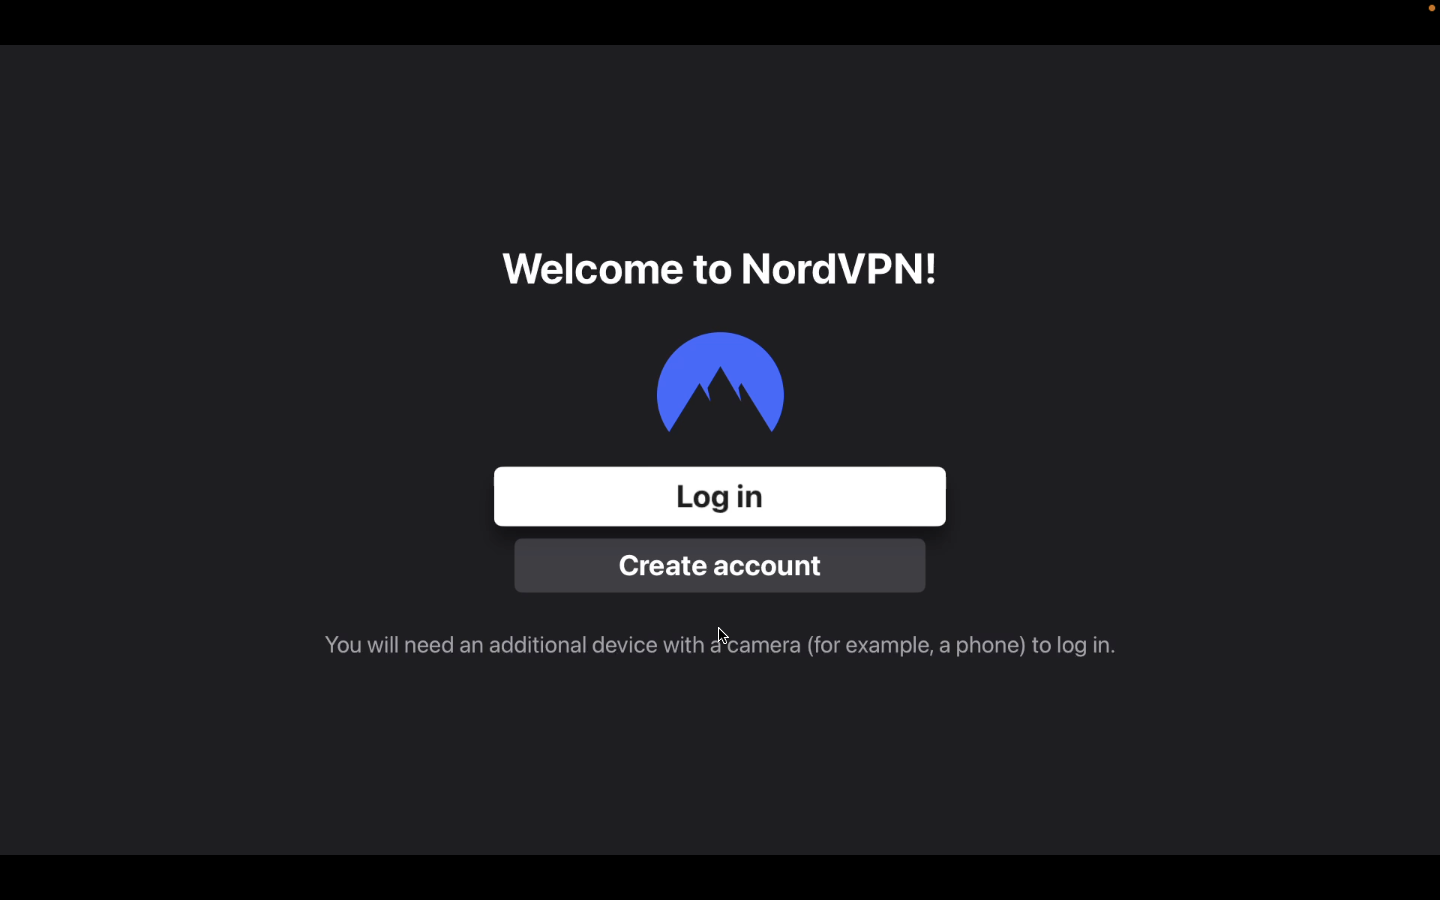
Once downloaded, open the app and log in with your account or create a new one.
-
A QR code will appear on your Apple TV screen. You should scan it with your smartphone’s camera.
-
After scanning the QR code, you’ll get a one-time code. Enter this code on your Apple TV NordVPN app when prompted to do so.
-
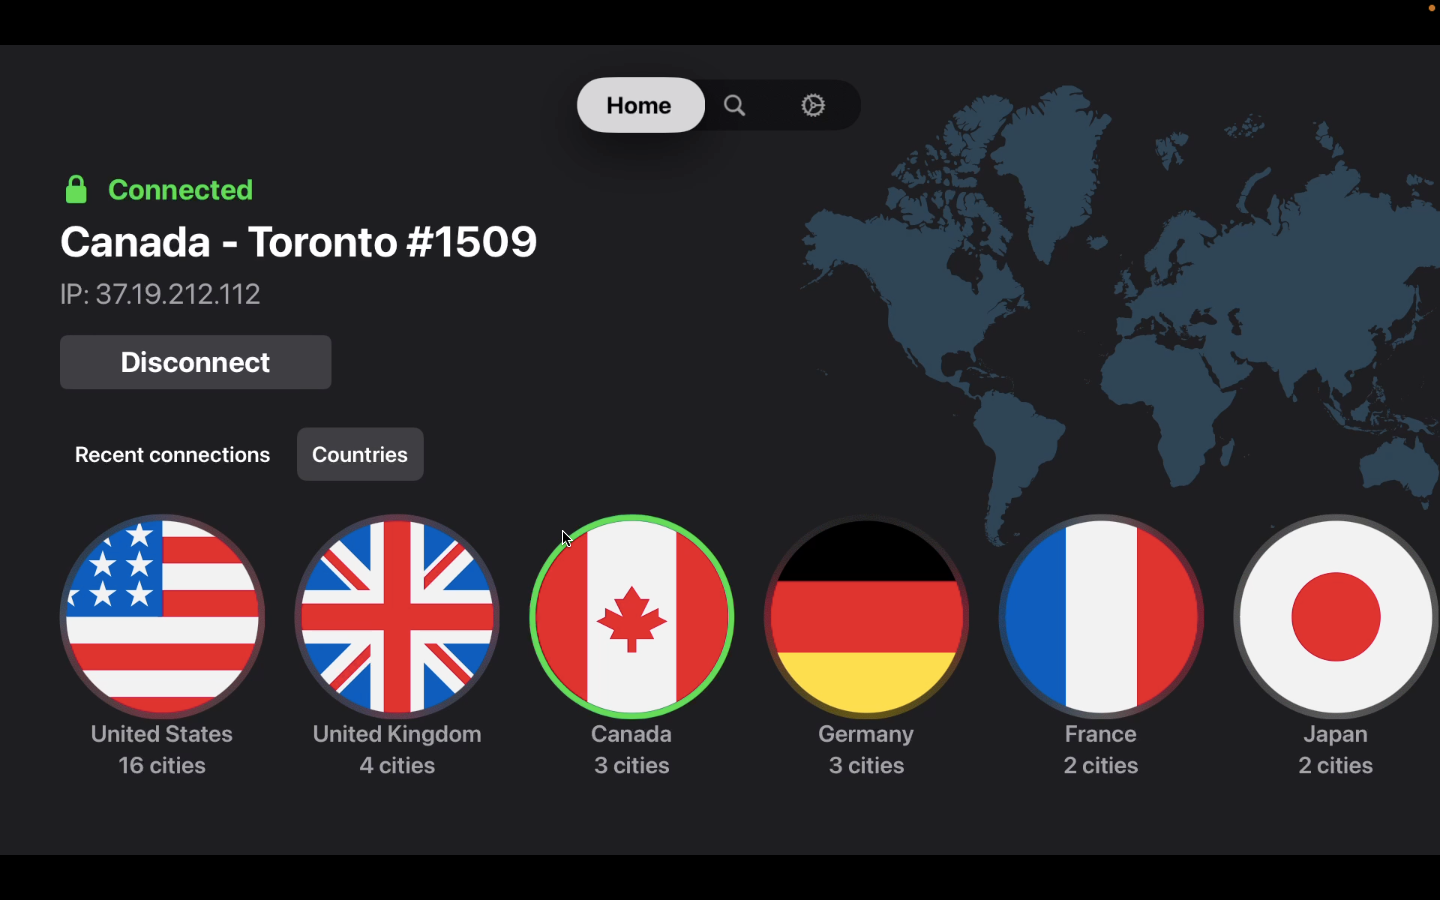
Choose a server in your desired location.
- Once connected to the server, head to your preferred streaming platform.
- That’s it – enjoy secure streaming while you hop through various platforms!


Get the NordVPN Apple TV app now >
Method 2. Use NordVPN SmartDNS on Apple TV
The SmartDNS technology reroutes your DNS (Domain Name System) queries through a proxy server to hide your real location. This allows you to access geo-restricted content without changing your IP address.
The NordVPN SmartDNS feature is compatible with all Apple TV models, including the older ones, and is very simple to set up via the Apple TV or router settings. Lastly, it is perfect for travelers because of its ease of use and the fact that it’ll allow you to catch up on the content you usually watch back home.
Here’s how to set up and get the NordVPN SmartDNS feature working on your Apple TV:
- Purchase a NordVPN subscription if you don’t have it already. Right now, you can get it 75% off.
- Connect your Apple TV and your computer or mobile device to the same network.
-
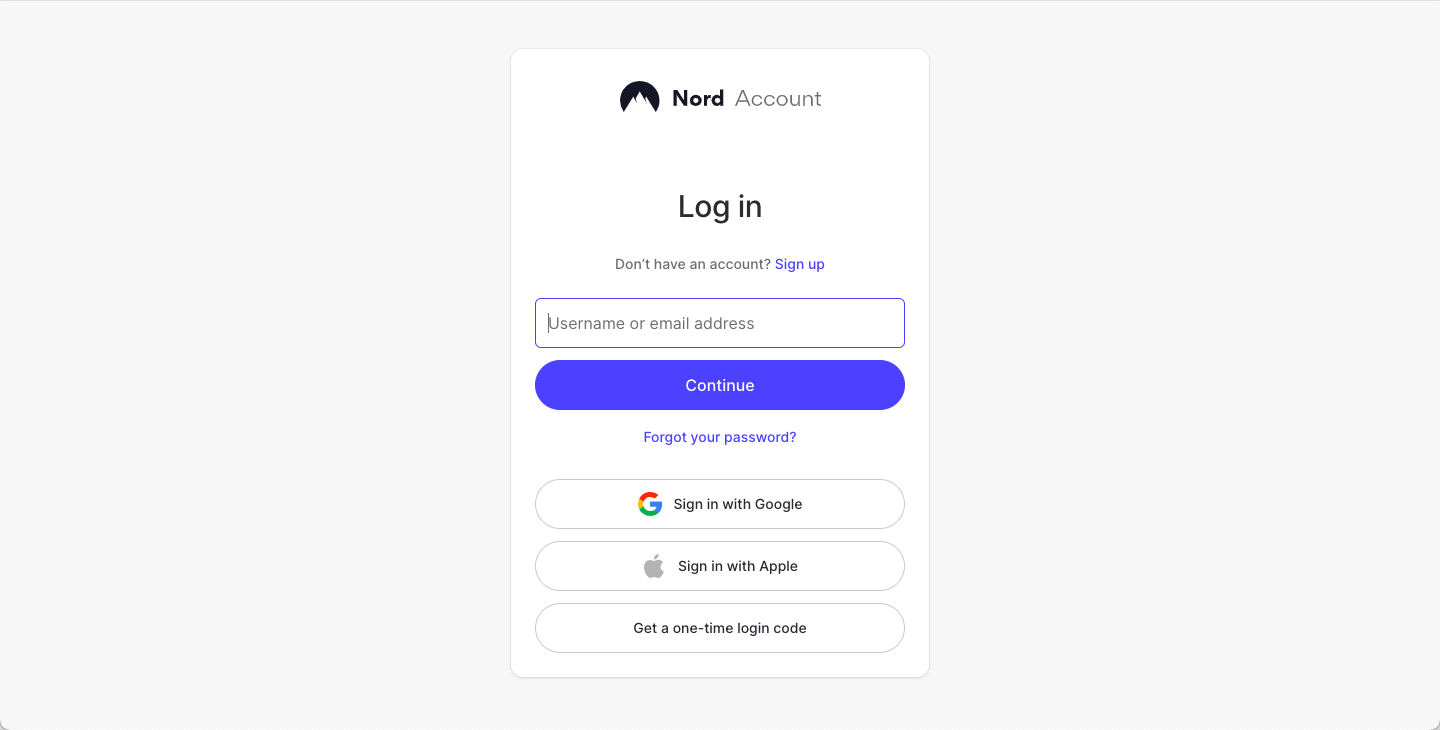
Head to nordvpn.com while on your computer or mobile device and log in to your account.

-
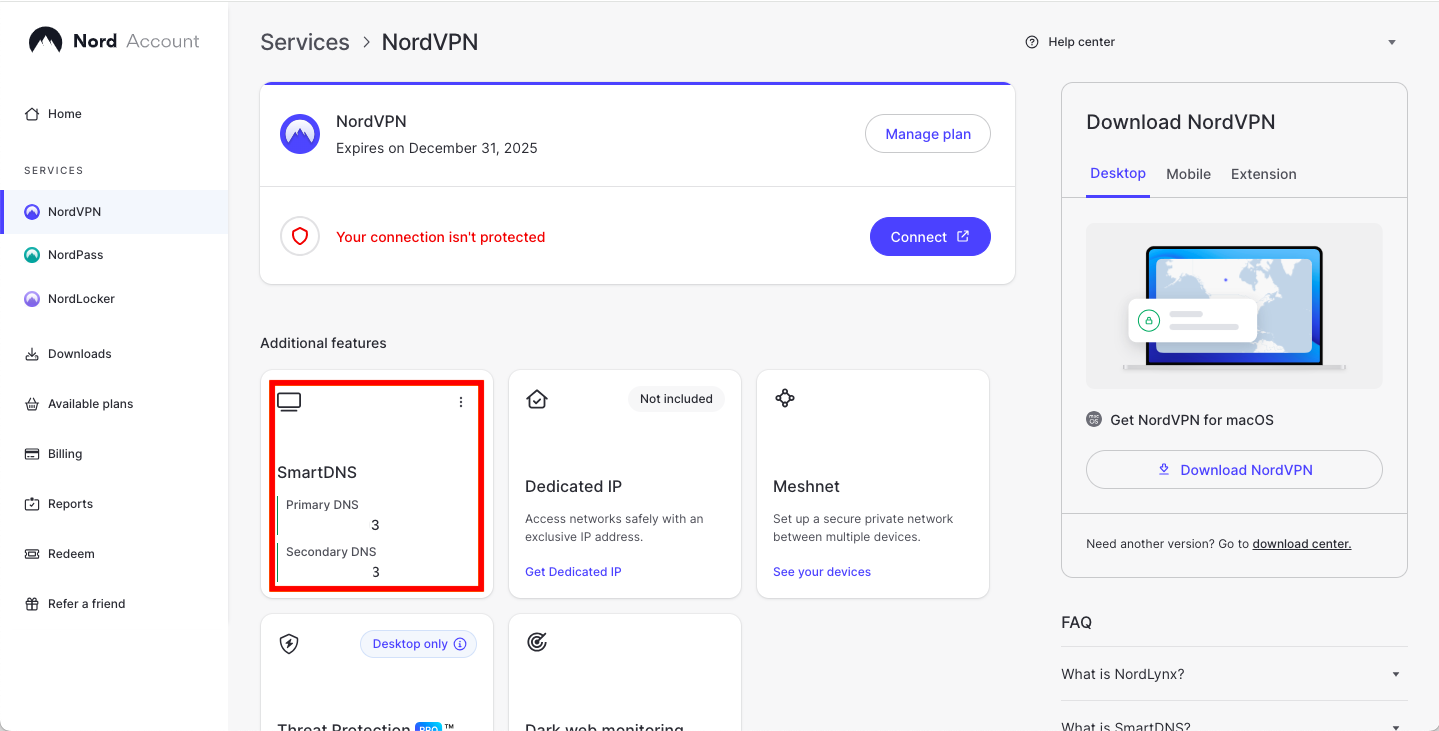
Click on the NordVPN tab in your NordVPN Account Dashboard.

- Select Enable in the SmartDNS section.
- Once it’s configured, you’ll get an email from NordVPN listing the new DNS in it. You’ll also be able to find the new DNS on your NordVPN account.
-
Now, head back to your Apple TV and turn on the Settings tab.
-
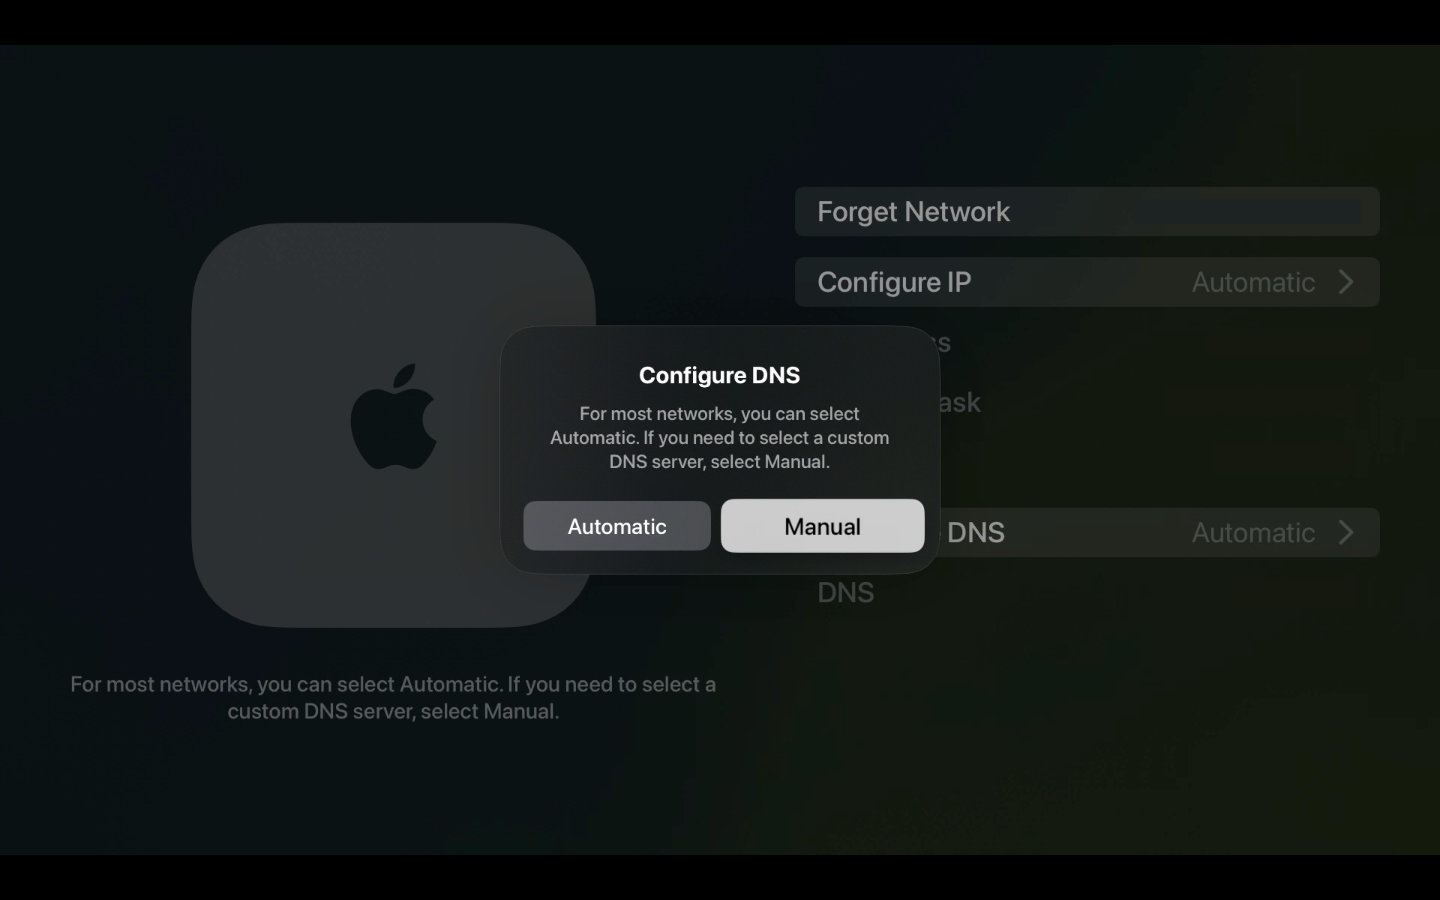
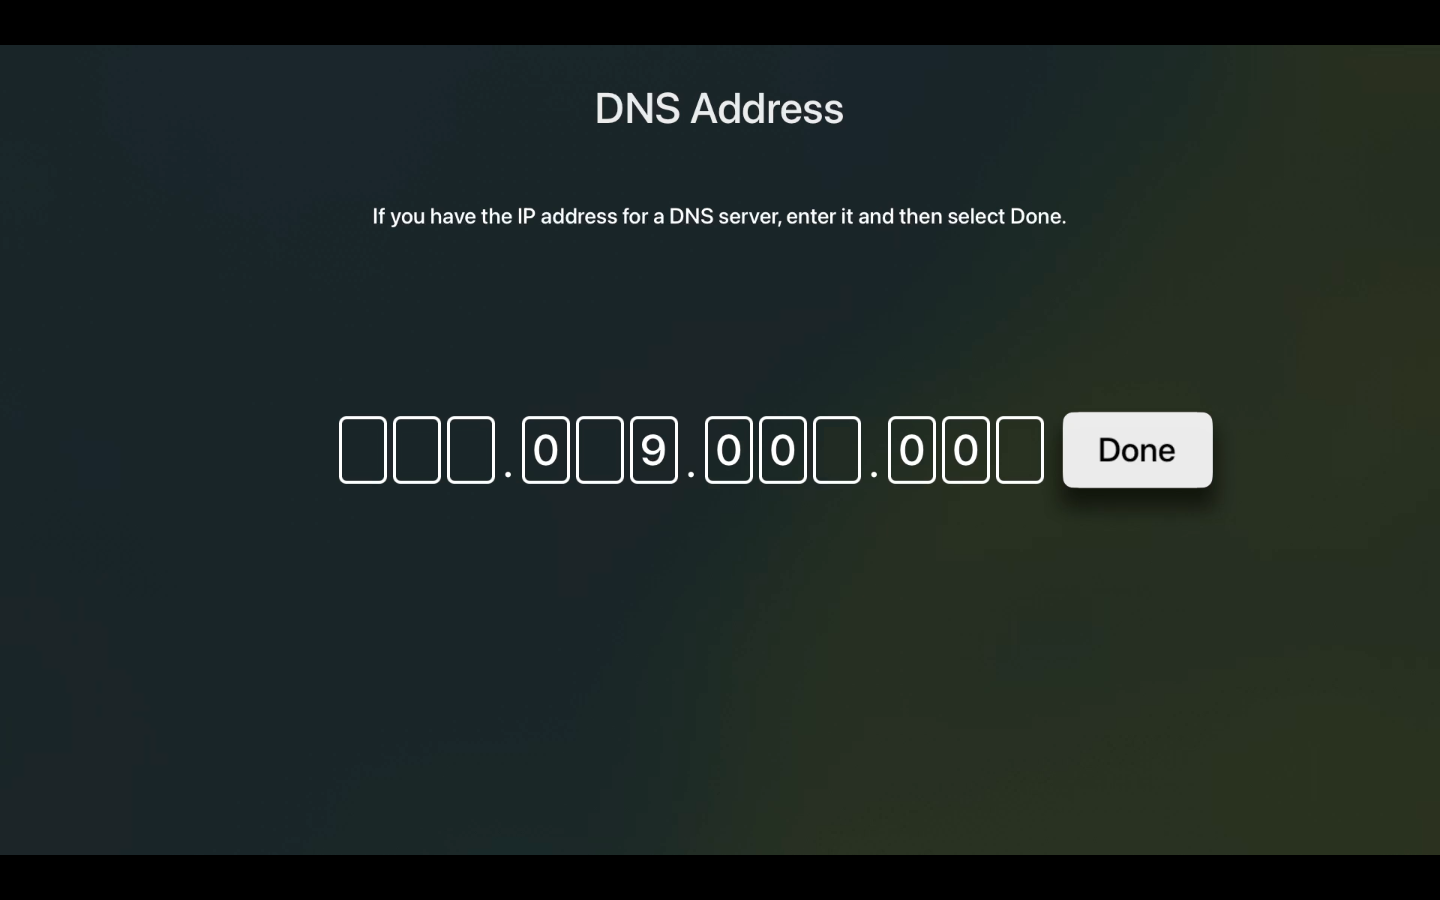
Go to Network from the Settings menu. Look for Configure DNS and choose manual.
-
There, type in the new DNS you received in the email.
- Now, head to your preferred streaming platform – if you’ve configured it right, you should now be able to access it without any restrictions. I tried entering the US Netflix library and it worked like a charm.
- That’s it – enjoy your shows! Remember, you can re-configure your SmartDNS setting any time you want to change your IP address.

Stream with NordVPN SmartDNS feature now
Method 3. Set up NordVPN on your router and use it on Apple TV
While installing NordVPN on a router might not be the fastest way to get it to work on your Apple TV, it has its own benefits. For one, installing NordVPN directly on your router will protect every device connected to it without any further additional steps. It’s an excellent solution if you want to protect all your devices without setting an app on each one.
The steps to installing the NordVPN app on your router, while generally similar, might vary depending on the hardware you’re using. But before you start with the procedure, you might find this list of routers compatible with NordVPN quite useful:
- ASUS WRT
- ASUS Merlin
- DD-WRT
- Privacy Hero
- Roqos
- Gl.iNET
- Mikrotik
- NetDUMA
- OPNsense
- OpenWRT
- Padavan
- Sabai
- Tomato
- pfSense
- DrayTek
- EdgeRouter
- TP-Link
- Starlink
All of these routers support firmware like OpenWRT, DD-WRT, and ASUSWRT-Merlin, making them suitable for use with NordVPN. If your router isn’t on this list, you can still use the hotspot, app, or SmartDNS methods to get NordVPN on your Apple TV.
Now, let’s check out the step-by-step guide on how to install NordVPN on your router:
- Double-check if your router is compatible with a manual VPN setup. You can check the list above or head to your router manufacturer’s official website and look for info there.
- Now, head to your web browser and enter the router’s IP address into the address bar. This will open the router configuration page.
- Log in to your router account when you’re prompted to do so.
- Find the VPN Option bar and navigate there. Enter the router settings you found on the dedicated NordVPN page and complete any post-installation steps if prompted to. It might include setting up a firewall.
- Test if everything works by connecting your Apple TV to the VPN-protected network.
- Once connected, head to your preferred streaming platform.
- That’s it – you’re all set to explore all kinds of new streaming platform libraries.
Get NordVPN for your router now >
Method 4. Turn on a VPN on your laptop and use it as a router
Turning on a VPN on your laptop and using it as a router is also a fairly simple way to get NordVPN on your Apple TV. This way, you can share your secure VPN connection either via mobile hotspot or wireless connection.
To use a mobile hotspot, you’ll need to enable the hotspot feature on your laptop and share the internet connection with your Apple TV. On Windows, this can be done through the network settings, while on Mac, it involves enabling internet sharing in the system preferences. This setup allows other devices, including your Apple TV, to connect to your laptop’s Wi-Fi hotspot and use the VPN-protected connection.
Alternatively, you can share the VPN connection via a wireless connection. This is a more complex way but offers more control. To achieve this on Windows, you’ll need to set up a virtual router using command-line instructions and then share the VPN connection with this virtual router. On Mac, it involves creating a network in the system preferences and sharing the VPN connection over Wi-Fi.
Both methods are supported on Windows and Mac, but the wireless connection method might require additional steps and takes a bit longer to set up. So, I’d say the hotspot method is faster and more suitable for beginners, while the wireless connection method requires a bit more time and know-how.
How to get a mobile hotspot working on your laptop:
- Download and install NordVPN on your phone or laptop, now with 75% off.
- Log in to your account or create a new one.
- Connect to a server in your desired location.
- Create a mobile hotspot. On iOS and Android, go to Settings > Mobile Hotspot and set up a Wi-Fi hotspot. On Windows, open Settings > Network & Internet > Mobile Hotspot and select the VPN network to share. On Mac, go to System Preferences > Sharing > Internet Sharing and select your VPN connection.
- On your Apple TV, connect to the WiFi network of your mobile hotspot.
- That’s it, now your Apple TV is hooked up with a VPN and you’ll be able to access geo-restricted content.
Create a secure hotspot with NordVPN >
How to create a VPN-protected wireless connection to be used with Apple TV:
- Download and install the NordVPN app on your laptop. You can get it now with 75% off.
- Connect to a server in your desired location.
- Create a virtual Router.
- On Windows, open the Command Prompt as an administrator, then set up a virtual router by typing netsh wlan set hostednetwork mode=allow ssid=YourNetworkName key=YourPassword. Start the network with netsh wlan start hostednetwork, then go to Network Connections, right-click your VPN connection, and choose Properties > Sharing, selecting the virtual network.
- On Mac, go to System Preferences > Sharing > Internet Sharing, select your VPN network as a source, and share it over WiFi to create a virtual network.
4. On your Apple TV, connect to the virtual network you’ve just set up on your laptop. This way, your Apple TV will be connected to a VPN-protected network.
5. Head to your chosen streaming platform and enjoy unlocked content!
Set up a wireless connection for Apple TV with NordVPN >
NordVPN not working on Apple TV: common issues and fixes
A common reason why Apple TV may not work with a NordVPN is incorrect configuration. Incorrect configuration might happen if you’re using the dedicated Apple TV NordVPN app or have set up the app on your router. If your VPN isn’t set up correctly, it might be the root cause of your connectivity issues.
Additionally, if you try to access geo-blocked content, streaming sites might detect that you’re using a VPN and block your access. Lastly, specific setup methods might lead to some particular issues. For instance, using Smart DNS may require proper activation and DNS settings, while a router setup may need firmware that supports VPN functionality.
Further on, I’ll share my tips on quick fixes for most of the issues, so don’t skip the troubleshooting guide below.
Essential steps to resolve NordVPN connectivity issues on Apple TV
For a quick fix on the most common connectivity issues, try these steps:
- Connect to a different server. Streaming services can sometimes blacklist the IP of a specific server, or the server might be too congested to work properly. Simply switching to another server might solve your problem.
- Restart the NordVPN app or your Apple TV. Sometimes a simple restart can solve your connectivity issues. That’s especially true if you’ve changed some configurations or your TV or the app was recently updated.
- Check your network connection. Double-check that your Apple TV is connected to the internet and that the VPN is active.
- Update NordVPN and router firmware. Ensure both the router and the NordVPN app are up to date for their best performance.
- Reconfigure VPN settings. If you manually changed some settings earlier, reset them, as this may be the cause of your connectivity issues.
If you’ve tried all the steps above but nothing seems to be working, I recommend contacting NordVPN Customer Support. The provider offers a 24/7 live chat to its clients, and the professionals will assist you with your issue.
Troubleshooting NordVPN SmartDNS issues on Apple TV
If you’re having a hard time getting the NordVPN SmartDNS to work on your Apple TV, try these simple steps and see if they help:
- Reboot your Apple TV. Sometimes, you need to restart your devices for the recent changes to take effect. To reboot your Apple TV, head to Settings > System and then hit Reboot.
- Try both DNS servers. If your Apple TV allows for two DNS connections, ensure you’ve entered the same server address in both fields.
- Reinstall the streaming app. If you can’t get a specific streaming app to work with the SmartDNS feature, try deleting it, clearing its cache, and installing it again.
- Set a custom DNS. Log into your router’s settings and set another DNS server on it. 1.1.1.1 and 8.8.8.8 work well as primary and secondary DNS, respectively.
- Check your network connection. See whether your Apple TV is connected to the same network where SmartDNS is activated.
Disable IPv6. The SmartDNS feature only works on the IPv4 protocol. If your network uses both, it might be blocking your connection. If so, go to your router settings and disable the IPv6 protocol.
Why do you need a VPN for Apple TV?
Using a premium VPN, such as NordVPN, for your Apple TV provides numerous benefits. From unlocking new content to securing your network, VPN is a truly useful tool.
For starters, using NordVPN on your Apple TV will allow you to access geo-blocked content. A VPN can change your virtual IP address in seconds and give you access to streaming platforms otherwise unavailable in your region. This includes unlocking foreign Netflix libraries, streaming Amazon Prime Video from outside the US, accessing Hulu, Disney+, HBO Max, and plenty more services simply by using a VPN.
Of course, the main objective of a VPN is to keep your connections private and secure while you’re relaxing. This is exactly what NordVPN does on Apple TV. The service will encrypt your network traffic and prevent any kind of data collection. Plus, with a reliable Apple TV VPN, you can bypass bandwidth throttling imposed by your ISP, thus enhancing your connection speeds and streaming quality.

As you can see, using NordVPN on Apple TV is truly smart. Not only will you have even more content to watch, but your activities will also stay private and anonymous to onlookers.
Safeguard your Apple TV with NordVPN >
Conclusion
To set up NordVPN on your Apple TV you can rely on four simple methods. Depending on your situation and preferences, you can simply download the dedicated NordVPN Apple TV app, set the service on your router, use the SmartDNS feature, or create a VPN-shielded hotspot connection. Each of these methods has its own benefits while at the same time presenting its own challenges.
So, if you find NordVPN not working on Apple TV you can depend on a couple of quick troubleshooting tips, such as rebooting your TV, restarting the VPN app, switching servers, or checking if you’ve configured it in the right way. Lastly, if nothing seems to work, you can always contact NordVPN Customer Support and they’ll help you make NordVPN work with your Apple TV.
You may also like to read:
How to set up a VPN on Smart TV
How to set up a VPN
Best VPN for Android TV Box
How to bypass Youtube TV location
FAQ
Is there a NordVPN app for Apple TV?
Yes, there is a NordVPN app for Apple TV. To get it, simply head to the Apple App Store and search for NordVPN. Download the app, install it on your Apple TV, and you’ll be ready for secure streaming.
How do I change my VPN country on Apple TV?
To change your VPN country on Apple TV, you’ll need to select and connect to a server in the desired location. You can choose the server and location from a map in the main NordVPN app window, the country list, or the server list.
How can you change the region on Apple TV via NordVPN Smart DNS?
To change the region on your Apple TV using NordVPN Smart DNS, set up Smart DNS on your NordVPN account and manually configure the DNS settings on your Apple TV. Then, go to the Apple TV settings and switch the region to your desired location.
How to watch Netflix on Apple TV with NordVPN?
To watch Netflix on Apple TV with NordVPN, first, install the dedicated app on your TV, configure the VPN on your router, use the SmartDNS feature, or set up a mobile hotspot. Then, select the server in your desired location, connect to it, and easily access foreign Netflix libraries.


- Method 1. Install NordVPN app on Apple TV
- Method 2. Use NordVPN SmartDNS on Apple TV
- Method 3. Set up NordVPN on your router and use it on Apple TV
- Method 4. Turn on a VPN on your laptop and use it as a router
- NordVPN not working on Apple TV: common issues and fixes
- Why do you need a VPN for Apple TV?
- Conclusion
- FAQ